Shenzhen Lizhifeng Electronic Equipment Co., Ltd
Address: Floor 4, Building 2, Hengchangrong Industrial Zone, No. 128, Shajing Shangnan East Road, Bao'an District, Shenzhen
Tel.: 13925215926
Marketing hot sale: 13925286095
Email: marktong@smtlf.cn
Requirement solution method
Solving the shadow problem: moore clause of shadow
Real time bending compensation (2D 3D scheme): PadReferencing Z-Tracing
Easy to operate: RenewalGUI, color 3D pictures
Foreign matter detection: 30 Foreign matter detection function (option)
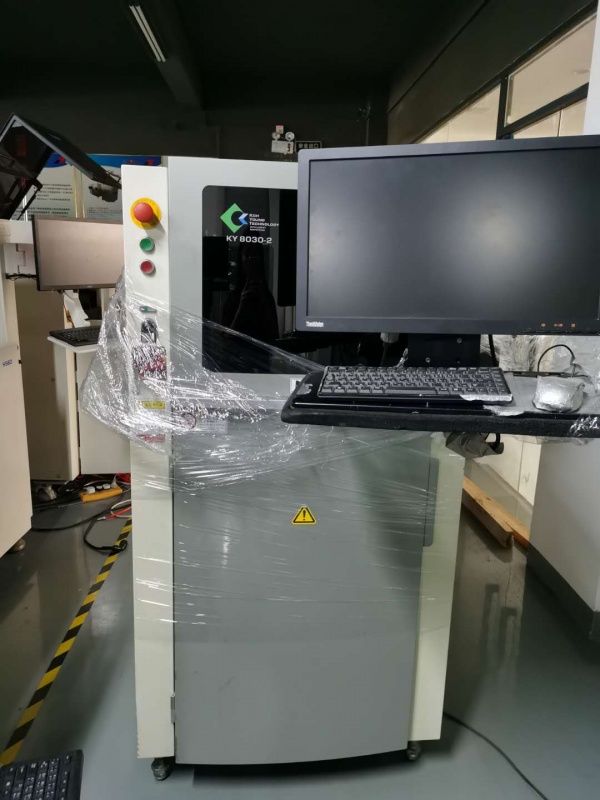
Test performance
Test items: volume, area height, offset, bridge, shape, coplanarity
Type of defects: missing printing, excessive tin, insufficient tin, continuous tin, poor shape, offset, coplanarity
Camera resolution: 15um 20um 25um
FOV size: 30 * 30mm (1.18 * 1.18inch) 40 * 40mm (1.57 * 1.57inch) 50 * 50mm (. 97 * 1.97inch)
Full 3D detection speed: 22.5-56.1cm/sec (detection speed varies with PCB and detection conditions)
Spacing of Xiaoyun paste: 100um (3.94mis), 150um (5.91mils), 200um (7.87mils)
Camera: 4 megapixel camera
Lighting: IR-RGBLEDDomeSstyedlunabion (option)
Z-axis resolution: 0.37 μ m
Height accuracy {correction module): 1 μ m
01005 Detection capacity:<10% at6o
Inspection size: 10x10mm 0.39 * 0.39inch
Detection height: 400um 15.75mils
Small pad spacing: 100um (150 μ M solder paste height) 3.94mils (5.91mils solder paste height)
Corresponding color base plate: Yes
Substrate correspondence
Track width adjustment: automatic
Rail fixation mode: front rail fixation/rear rail fixation (fixed during shipment)
Software
Supported input format: Gerberdata (274X, 274D, ODB option)
Programming software: ePM-SPI
Statistical management tools:
SPC@KART (Option)
-Histogram.X-bar&R-Char,Xbar&S-Chat.Cp&Cpk.%GageR&R
-Real time SPC&MultipleDisplay
SPC alarm
KART remote monitoring system (option)
Operation convenience:
LibraryManager@KART
KYCal: Auto calibrate camera/lighting/height
Operating system Windows7Ulimate64bit
Add-onSolutions
1D&2DHandyBarcodeReader : RemoteMonitoringSystem : Link@KART
1D&2DInlineBaroodeReader : WarpCompensation : SPC@KART
OflineProgrammingStation : ForeignMaterialInspection
OflineSPCPlusStation : ReviewStation
StandardCalibrationTarget : KARTProcessOptimizer
UPS : IR-RGBLight
When the automatic tin replenishing function is selected, it depends on the equipment specification. The size of PCBR varies with the detection performance.

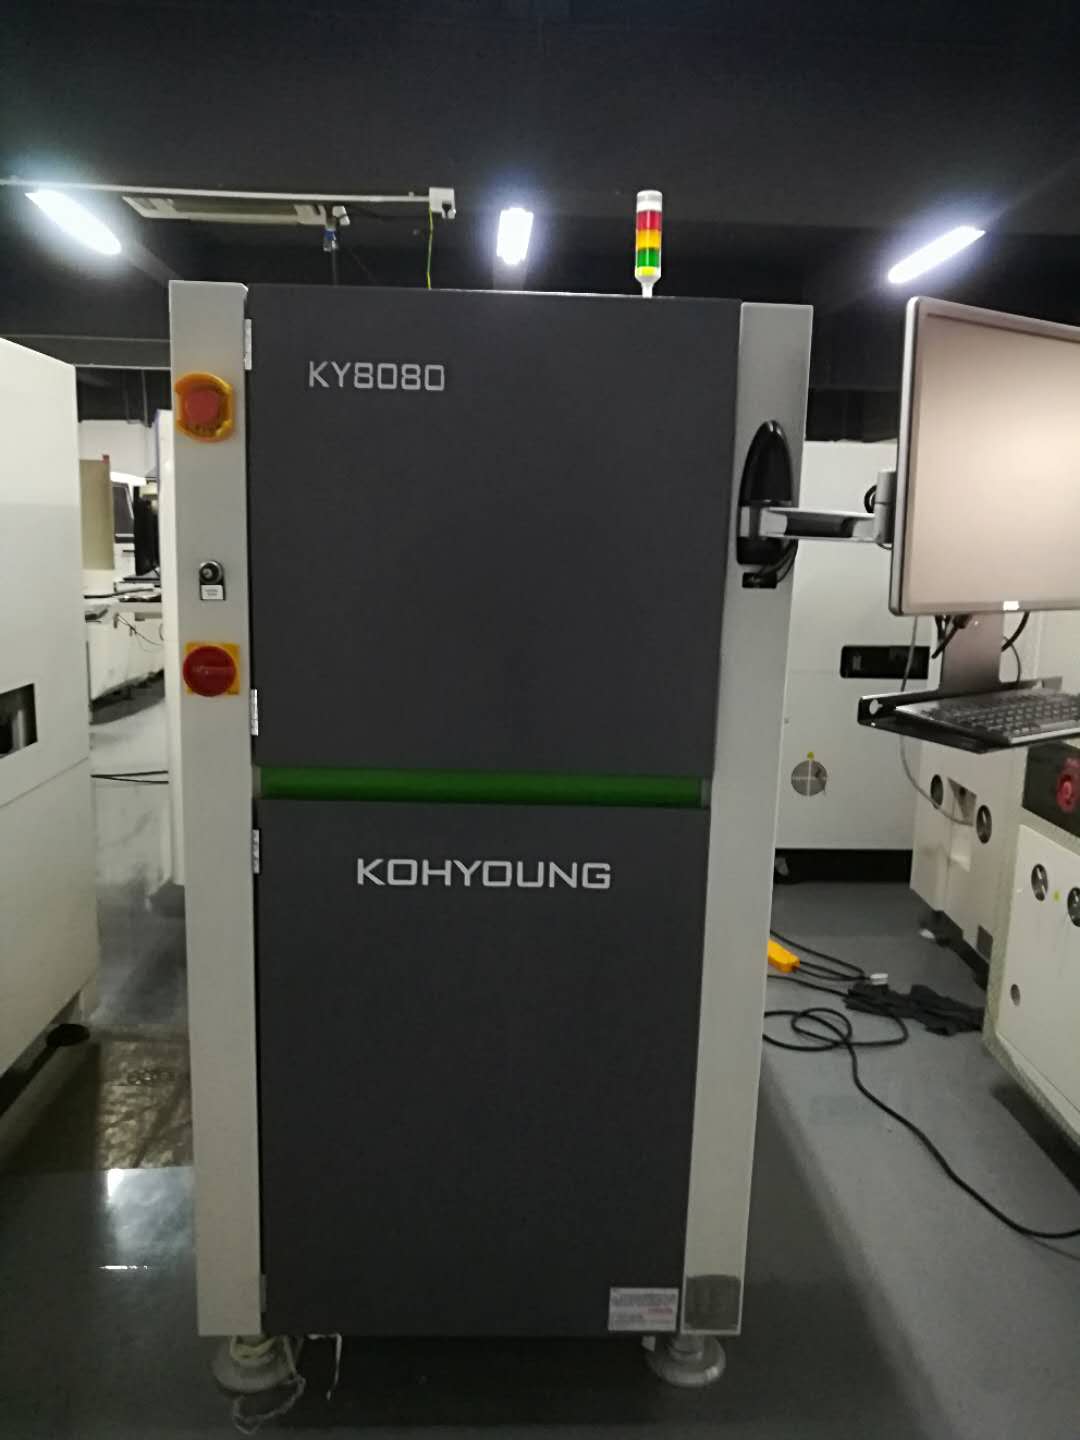
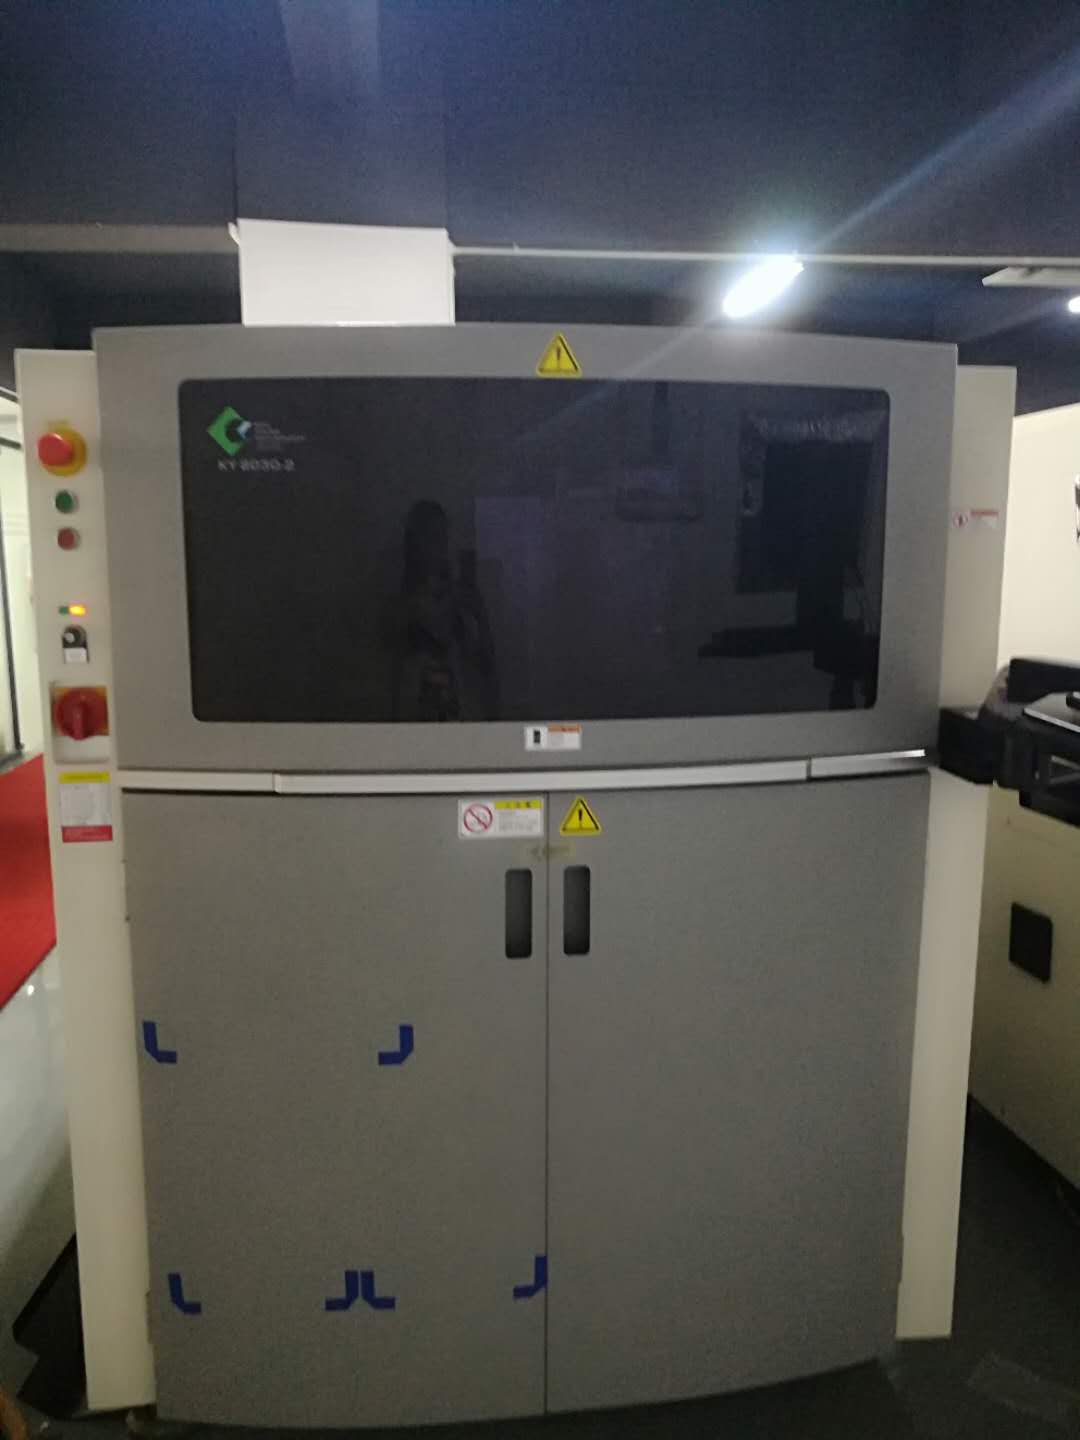
KY-8030-2 measurement software: KY8080 KY8030-2XL
MC-110-2.5D video observation, image saving, thickness measurement, data recording, background light, laser brightness control, area (square, irregular polygon, circle)/volume/spacing (X, Y axis)/angle measurement, 24 production lines/any number of products can be memorized.
SPC software HSPC2000: query, modify, delete, export (text and EXCEL table), preview and print data according to the specified product, production line and date range, and can count the average value, value, small value, variance, standard deviation, defective number, defective rate, skewness, kurtosis, Ca, Cp, Cpk, Pp and Ppk, and can draw, preview and print X-BAR control chart and R pipe drawing (the control parameters can be set by yourself).
Measuring principle:
The non-contact laser measuring instrument generates a linear beam from the laser and projects a certain angle to the target to be measured. Because there is a height difference between the target to be measured and the substrate, the observed target and the laser beam on the substrate appear intermittent drop correspondingly. According to the trigonometric function relationship, the observed drop can be used to calculate the height difference between the target to be measured and the surrounding substrate, so as to achieve non-contact rapid measurement.
Parameters:
Measuring principle: non-contact, laser beam
Measurement accuracy:± 0.002mm repeated measurement accuracy:± 0.004mm
Base size: 324mm× 320mm
Mobile platform: large range fast positioning, fine adjustment, electromagnetic locking
3D scanning stroke: 10mm 3D scanning drive: step servo drive, screw guide system
3D measurement: scanning, 3D contour reconstruction, arbitrary measurement
Image system: HD CCD, 640× 480 Pixel
Travel of mobile platform: 230mm× 200mm
Mobile platform size: 320mm× 320mm
Measurement method: 3D measurement or 2D measurement
Optical magnification: 25~110 times (adjustable in 5 gears)
Image size: 600× 480 Pixel power supply: 220V~50Hz
Lighting system: ring LED light source (PC control brightness)
Measuring light source: as low as 5.0 μ M High precision laser beam
System size: L372mm× W 557mm× H 462mm
Measurement software: MC-110-2.5D/SPC2000 (Windows2000/XP platform)
Power supply: 220/240/1 Phase 50/60HZ
Power: 2.2kw
Weight: 500kg
Volume: 705× 1200× 1540mm
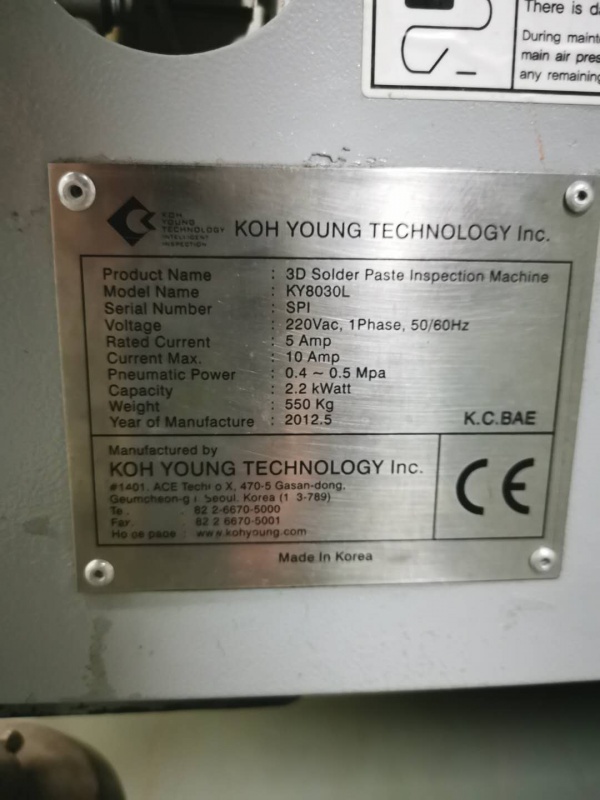
Product name: 3D SPI
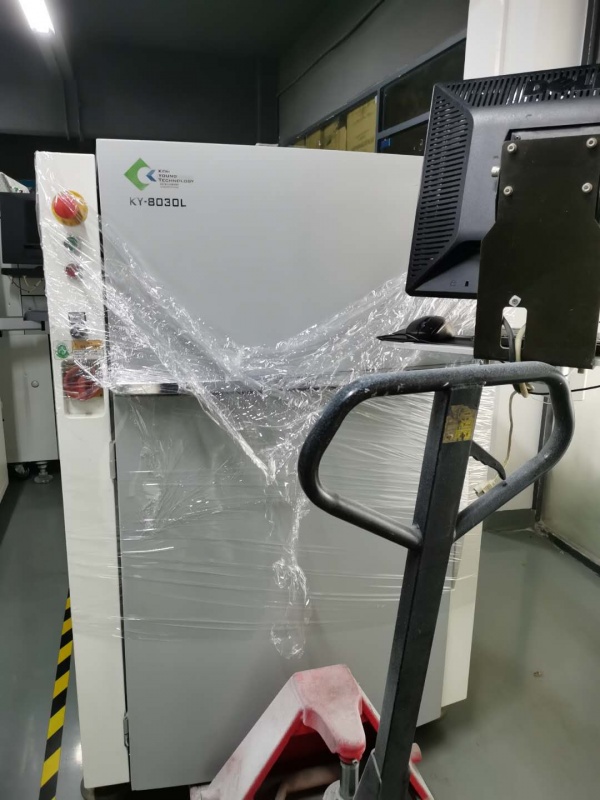
KY-8030L
Weight: 550KG
Power specification: 220Vac, 1phase, 50/60Hz
Shenzhen Lizhifeng Electronic Equipment Co., Ltd
Address: Floor 4, Building 2, Hengchangrong Industrial Zone, No. 128, Shajing Shangnan East Road, Bao'an District, Shenzhen
Tel.: 13925215926
Marketing hot sale: 13925286095
Email: marktong@smtlf.cn

Scan WeChat